Defining the penstock envelope on the downstream face
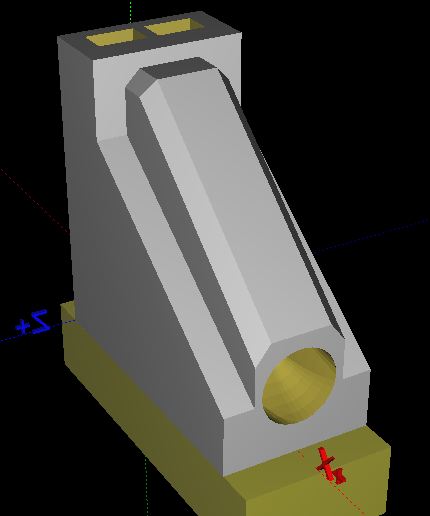
Figure 67
When the penstock is partially or completely outside the water intake section as shown in Figure 67, the user can easily define the external coating of the penstock by clicking the Downstream face button in the Intake dialogue box (see Figure 55).
To define the external coating of the penstock, the user must first locate the starting point of the coating, shown as a red dot in Figure 68. This starting point corresponds to the highest (Y-axis) and the most upstream (X-axis) point of the coating and in contact with the water intake perimeter. The dialogue box for the starting point of the coating is shown in Figure 68. CADAM3D highlights, through a red bold line, the possible locations for the starting point as shown in Figure 69.
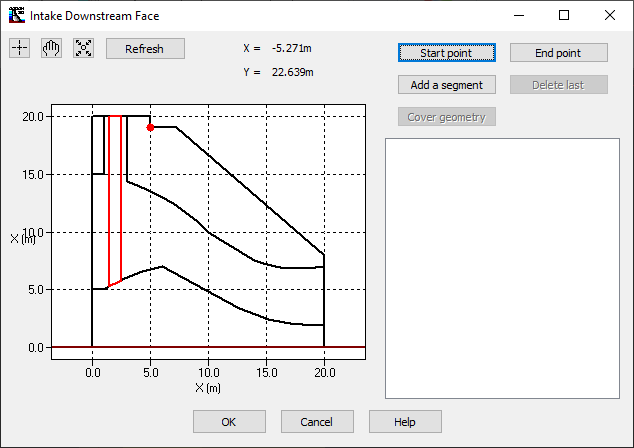
Figure 68
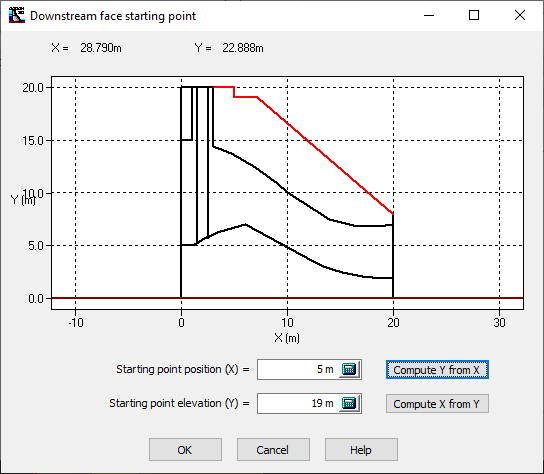
Figure 69
The user must define the inner perimeter of the coating by proceeding gradually from the starting point. Consistent with the foundation definition, the inner perimeter of the coating is generated through the four available segments: the linear segment, the circular arc, the power equation and the polynomial. Figure 70 presents a first linear segment defining the inner perimeter of the coating, which is in fact the actual downstream face.
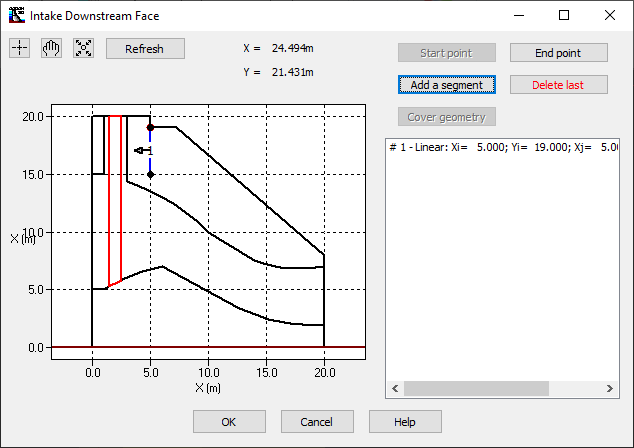
Figure 70
The last segment, which must be linear, is defined using the End point button to close the perimeter of the coating of the water intake. The dialog window (Figure 71) corresponding to the end point is similar to that of the starting point where once again a red line guides the user in his choice.
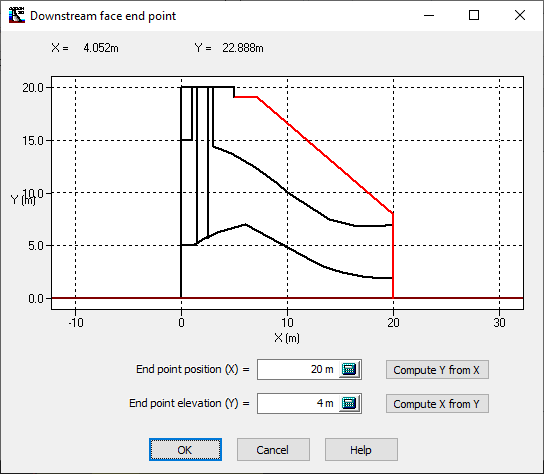
Figure71
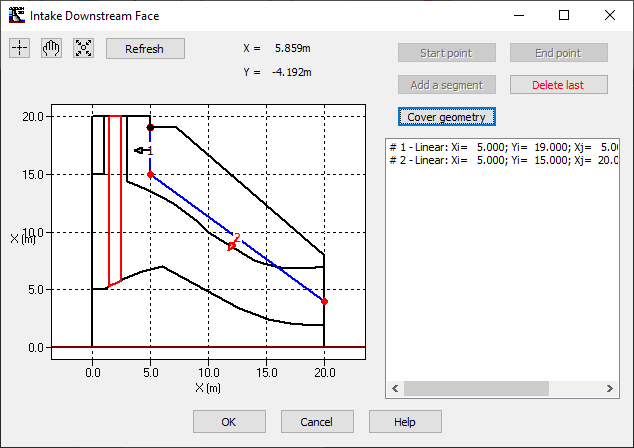
Figure 72
Finally, the geometry of the cover must be defined. By clicking on the Cover geometry button (Figure 72), the user can define the cover geometry. CADAM3D offers through the dialogue box Penstock cover geometry the dimensions of the cover (Figure 73).
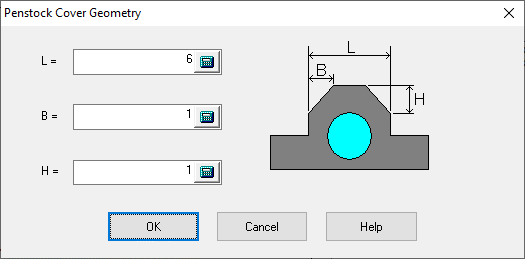
Figure 73